Day Planner Cover dot painting
Today I’m dot painting my day planner. I’ve created my own because I liked parts of one journal and some of another and thus, I have my own.
I’ve printed out all the paper and was going to put it all together, when an idea struck me. I could paint the covers!
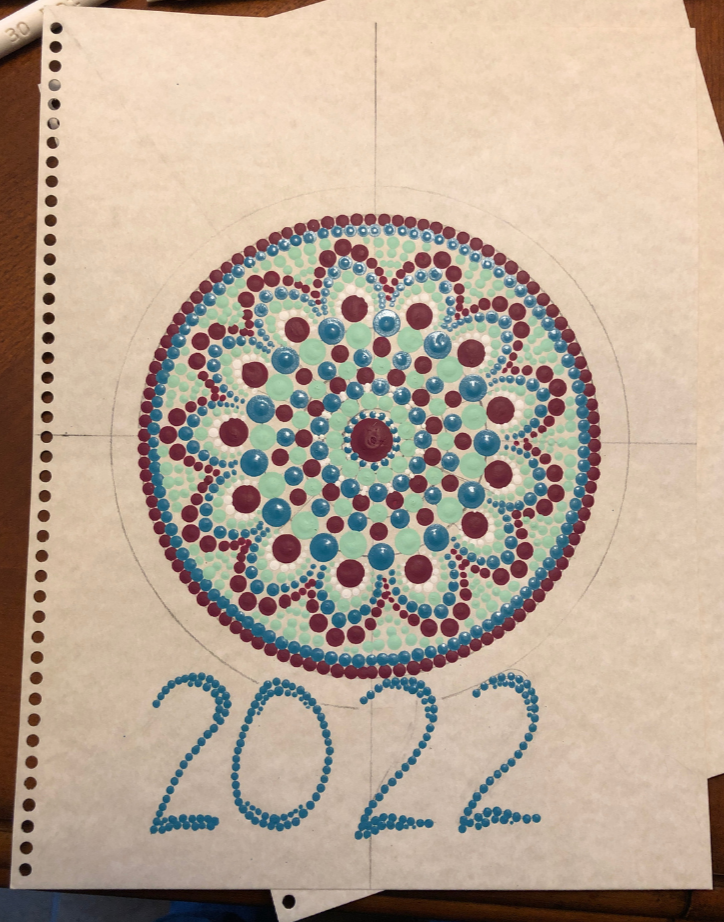
So on one Saturday I created this:
 |
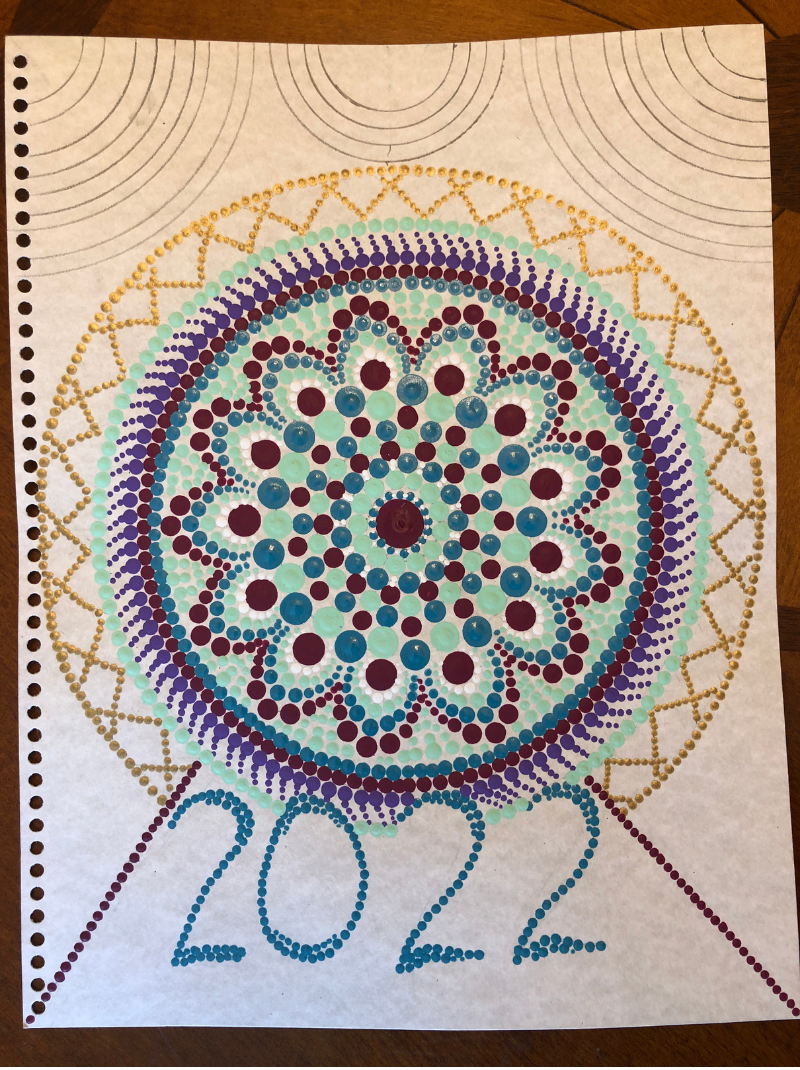 |
This is what I designed for the front cover. You can see at the top I’ve drawn in some guidelines with a compass. I want to fill in the top area as it looked too spacious.
Back Cover
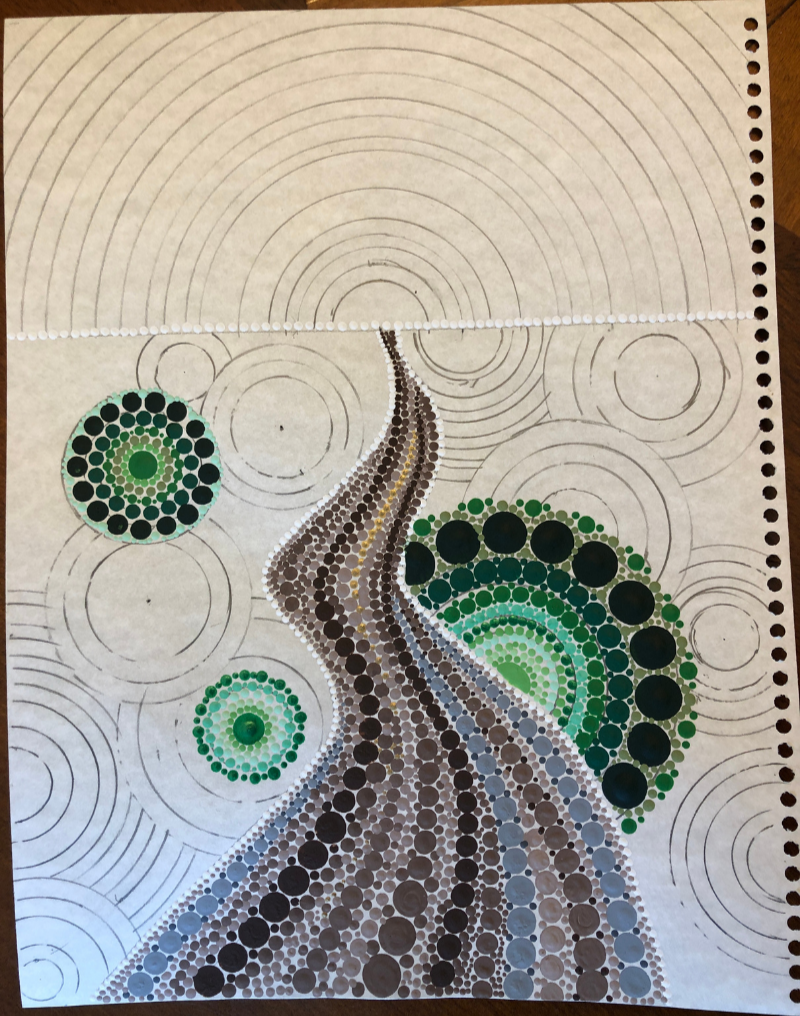
Then on Sunday, I decided I wanted to do a scenery design on the back. Here’s what I came up with. This is a couple of hours of painting. I don’t have too big of plans on the circle designs, so I’m playing around a bit.
I did want to get more shades of green into my design, but I don’t think I’ll use any more of the really dark green. It looks almost black. A little too dark. My goal for this is to have a bright happy looking back cover.
My plan from here is to finish in the green circles around the path and then the top circle will be yellow and orange in the center and then blues surrounding it. A happy little sunrise! Perfect to get my day started right!
This project took longer than I would have liked. Because I had already printed out the paper, I was really wanting to use the thing. So I made it a point on Saturday to just sit down and paint. It took me all day, but I finished it!
Finished Planner Back Cover
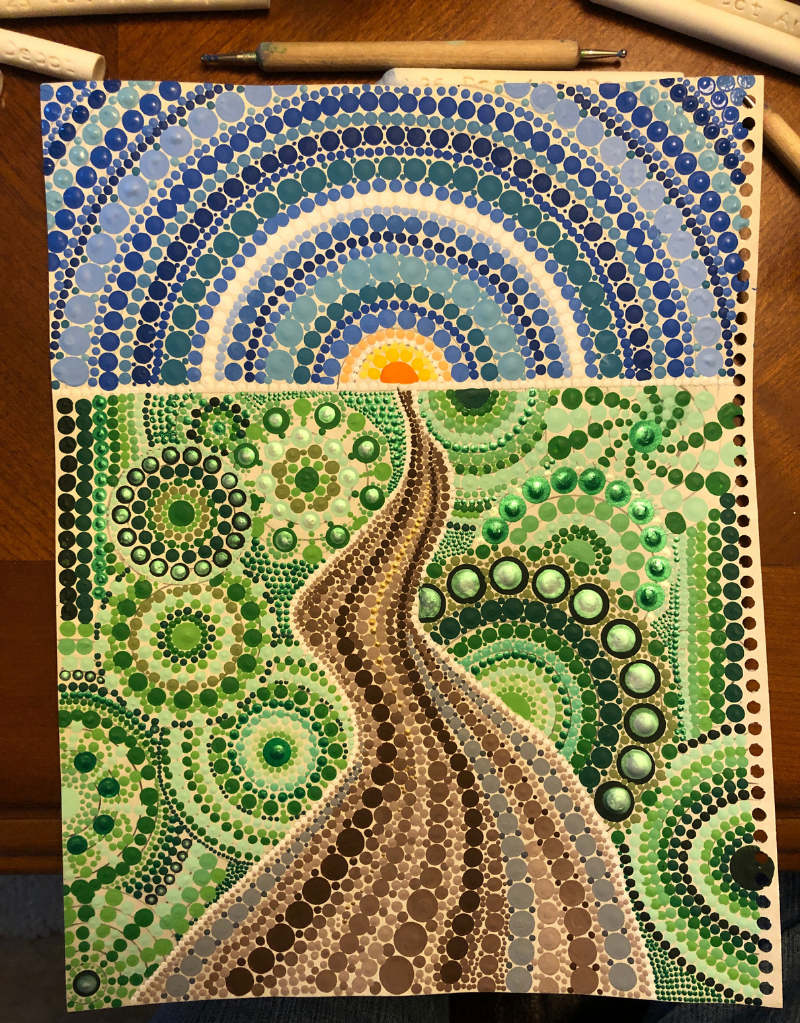
The hardest part for me was the green mandalas. How do you get them to “meld” well together? How can you tell one mandala from another without it all running together? How do you fill in spaces without mandalas?
Also, I remembered that I bought the iridescent green paint. It made perfect top dots for my really dark green. I love how that turned out!
The blues in the sky went pretty fast and was really a no-brainer. I didn’t have to really think about the design for each row as much as I had to think about the design for the green mandalas. After it all dried, I sprayed a single coat of clear coat on.
Finished Front Cover
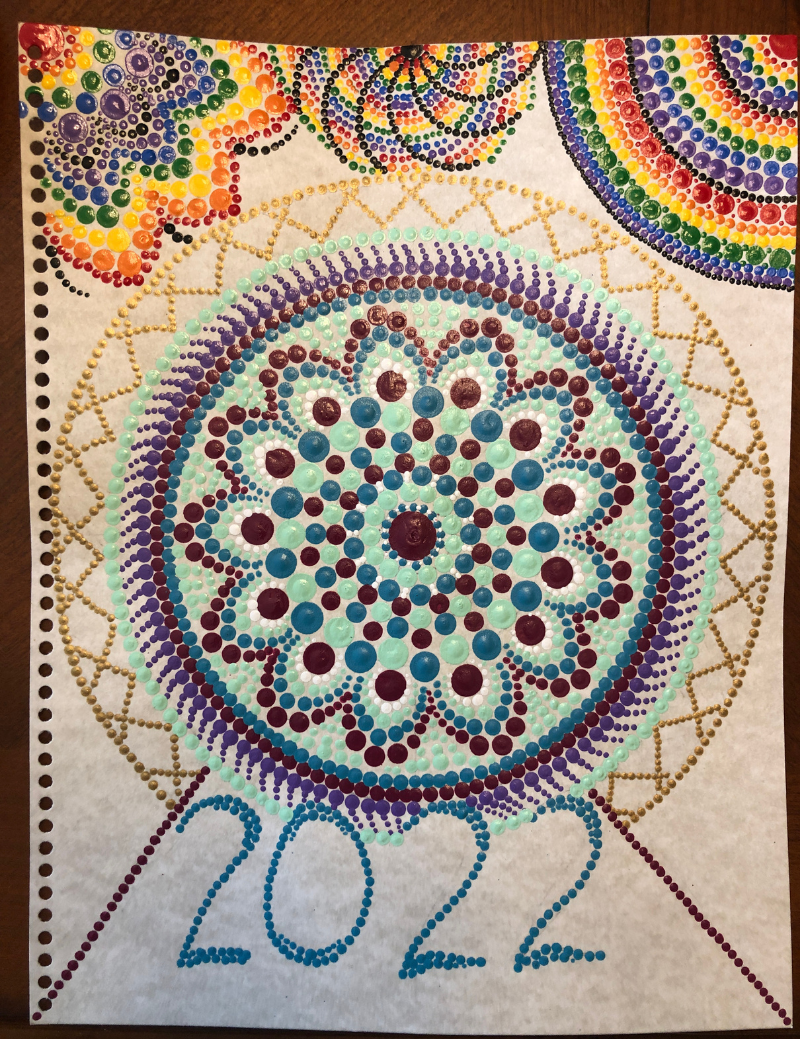
Sunday, I added the mandalas to the front cover and clear coated that. I
had it all put together by Sunday night! The paint kind of sticks to
my clear plastic covers, but I don’t think I really need to separate
them if they do.
And I’m really loving using my planner!
Putting It All Together
|
This is the front cover. I have a clear plastic cover sheet over top of that. And in order to see the image I had to take the picture at an angle. 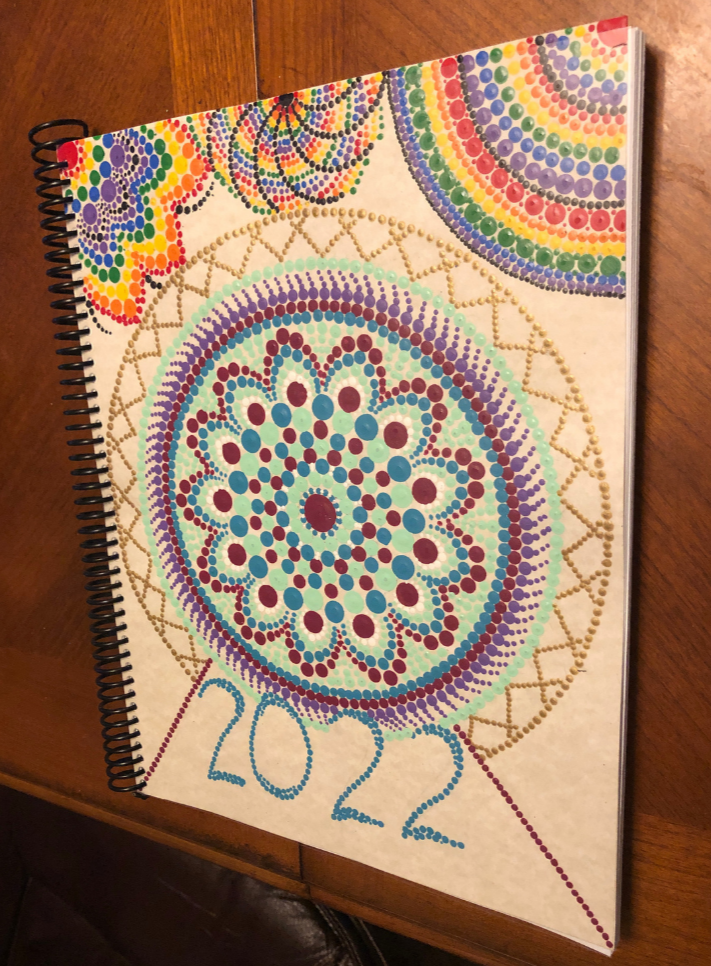 |
This is the back cover. I have a clear plastic cover sheet over top of that. And in order to see the image I had to take the picture at an angle. 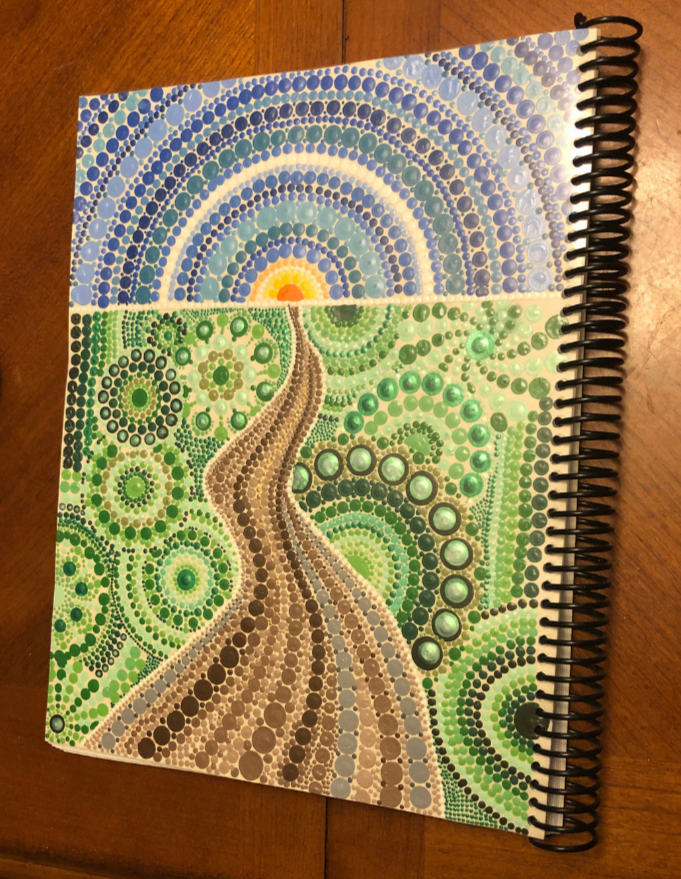 |