Garden Stone Dot Mandala

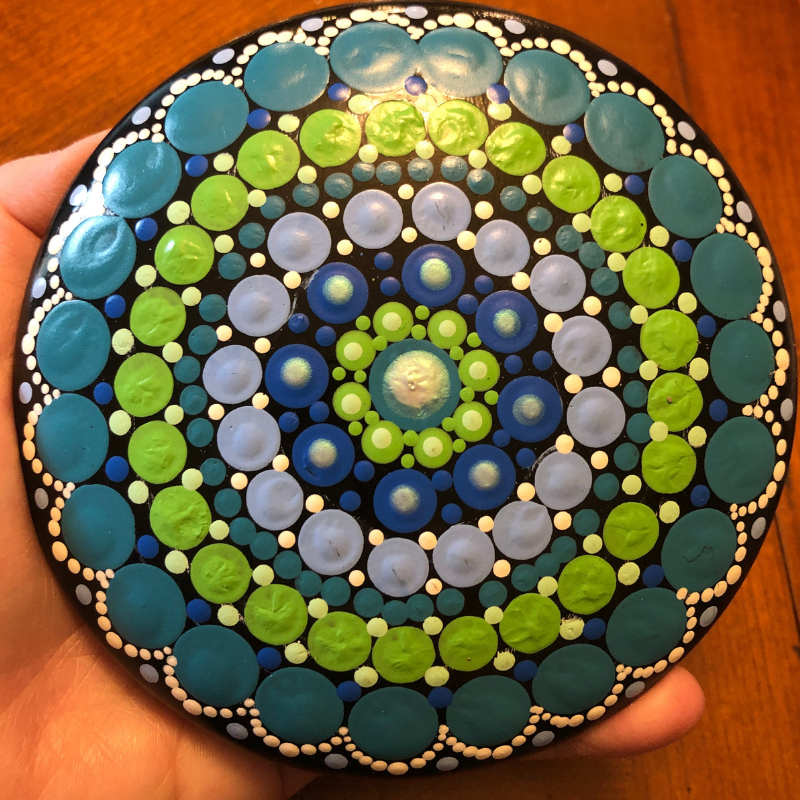
Creating this garden stone mandala was really a lot of fun! Even making the stone was fun!
Getting Started
I ordered a silicone mold from dot art depot. My first try was using plaster. It set up really nice. I can sand the bottom to be smooth. But, when I painted it with my base coat, the plaster absorbed the paint! I’ll have to do a second coat for sure.
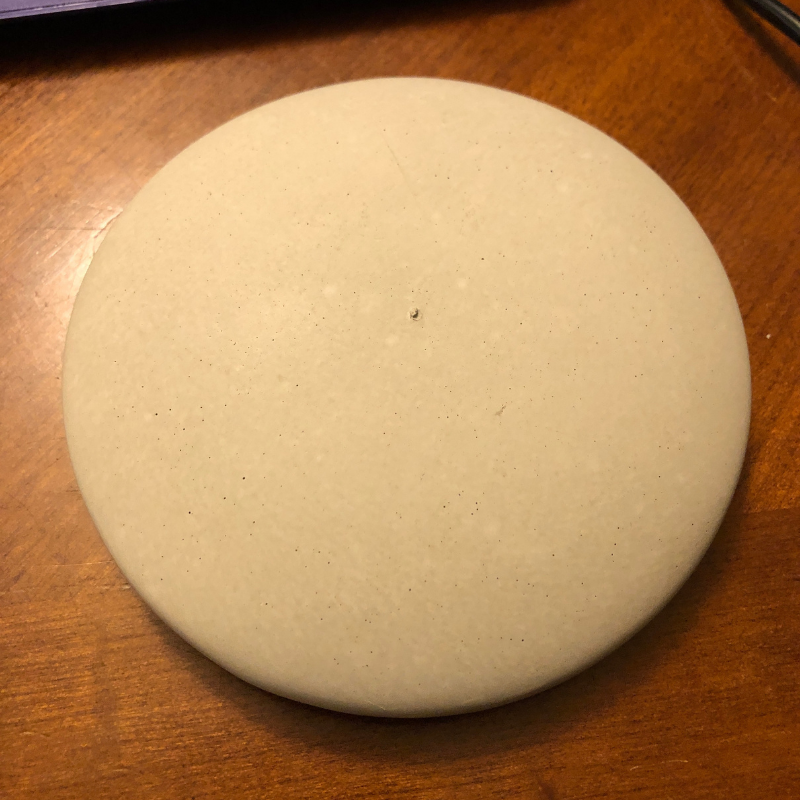
After doing a bit more research, I learned that the Rapid Set mortar mix would also work. So off to home depot to grab a box of that. The smallest I could buy was 25 lbs. I did some mixing in a small plastic tub. The only thing I didn’t like about the mortar mix is the bottom of the stone. Once it’s set up it’s not very smooth.
I went to the local ceramic shop to see if I could purchase Hydrocal, the recommended material for making these round garden stones. The gal there had never heard of it. But, she really wanted to help me and asked what I was working on.
After explaining what I was doing she recommended I place plastic wrap over top of the open end of the mold to smooth it.
I still have to try that.
But work with what you’ve got now, right?!
I made several stones from the mortar and I loved how smooth they were (at least on the top) and they painted up really nice.
 |
 |
Troubleshooting Guidelines

I picked a pattern and some colors I wanted to work with. I picked blues and greens this time.
And I got out my stencil and my chalk pencil and attempted to draw my guidelines. And, nothing. My paint was too glossy and the chalk wasn’t sticking. I could kind of see some marks so I went for it anyway. And my compass wasn’t working well. Number one it was a plastic dollar store compass. Number two it didn’t really stay where it was supposed to. It would open too far while I was turning the stone.
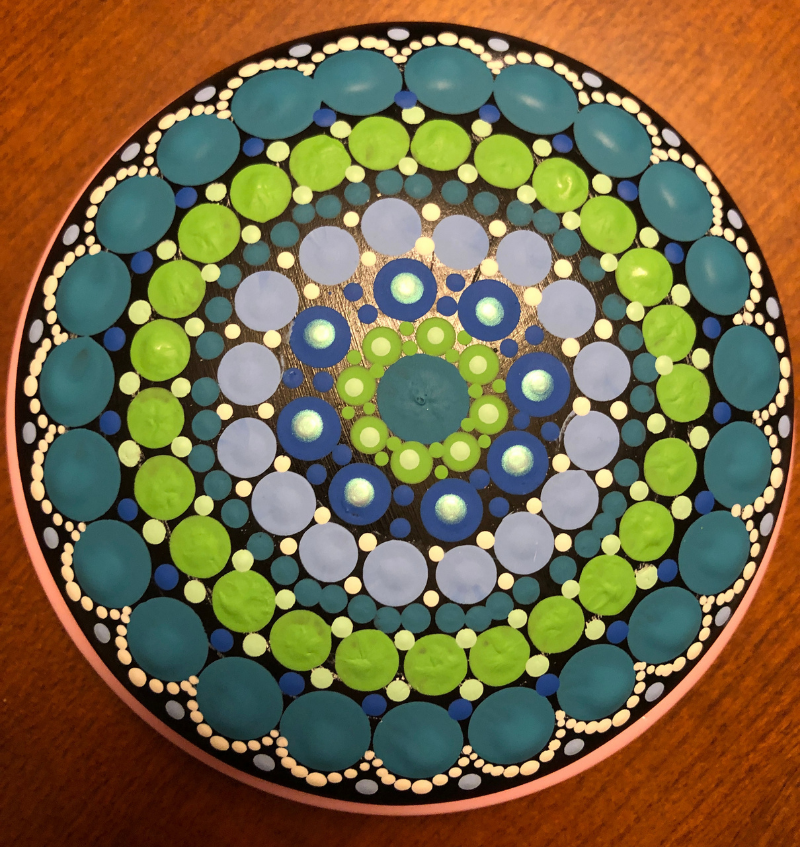
I started my project anyway and I had one row that was not very lined up or straight. Hmph.
The next day, I went to hobby lobby. I got a new metal compass, some circle stencils, and a variety of pencils to try. The one that worked the best was the grease pencil. It marks well, but also wipes off well too.
The metal compass held its shape better and didn’t extend out as I was turning the stone.
One thing that helps is having a turn table to work on. It was so simple turning the stone to dot. Now that I had better guidelines, my lines were straighter.
I picked up some iridescent paint at the craft store. I used that for top dotting (placing a smaller dot of a different color on top of another dot) and yay! So cool!
My Finished Stone

I placed a top dot on a few of the darker dots and the center dot.
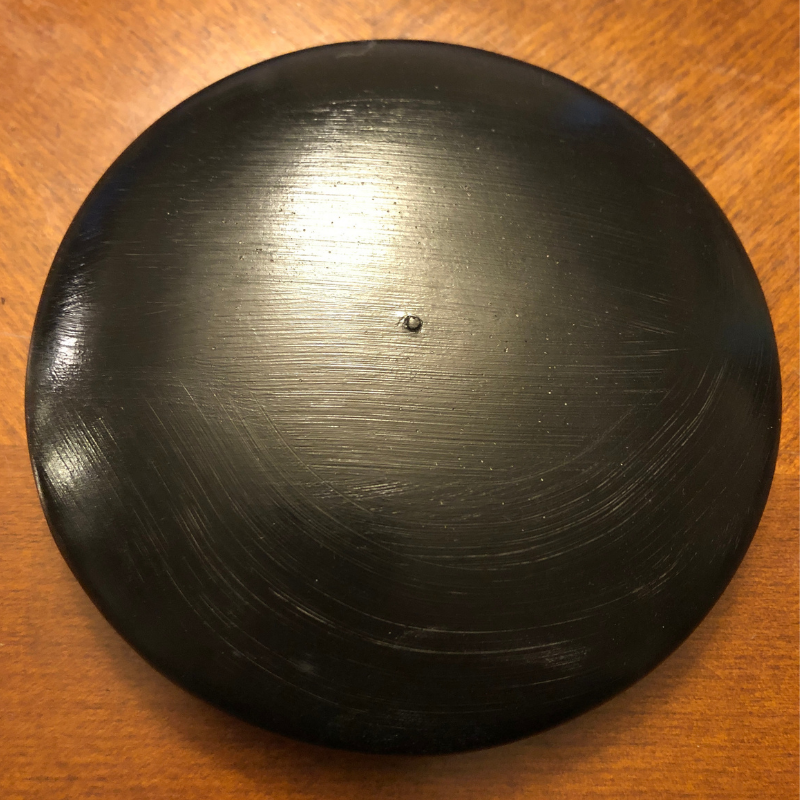
After all my dots were dry, I painted the bottom black. Then I sprayed a clear coat over the top.
A perfect stone for my container garden this spring!